
684.777.777 Orang Telah Merasakan Jackpot Dalam 24 Jam Terakhir!
Price:Rp 10,000
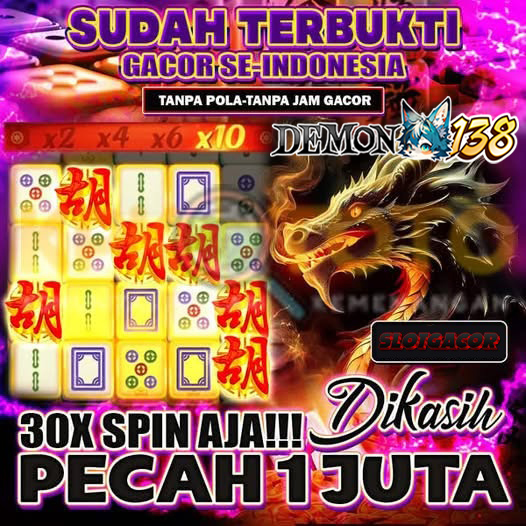
DEMON138 ❄️ Link Situs Slot Online Gacor Terpercaya Resmi Mantap Punya
DEMON138 adalah situs Slot Gacor resmi dan berlisensi. Agen DEMON138 ini selalu menyediakan RTP Live semua provider slot online viral untuk kemenangan lebih besar. Akurasi bocoran live RTP mencapai 100%, Agen Slot Gacor ini selalu menjadi yang terupdate dan terpercaya. Bermain slot online kini semangkin seru berkat hadirnya berbagai pilihan slot gacor dengan winrate tinggi. Mulai dari slot Gacor 77 hingga slot 88 Gacor, semua tersedia untuk para pemain mendapatkan maxwin setiap hari.
Star Seller
Star Sellers have an outstanding track record for providing a great customer experience – they consistently earned 5-star reviews, dispatched orders on time, and replied quickly to any messages they received.
Star Seller. This seller consistently earned 5-star reviews, dispatched on time, and replied quickly to any messages they received.
BOCORAN SLOT ONLINE GACOR
Definisi Istilah Populer tentang Slot
Penjelasan singkat namun jelas untuk 15 istilah yang sering digunakan oleh pemain dan pengelola situs slot online.
Artikel ini memberikan definisi singkat dan mudah dipahami untuk setiap istilah. Gunakan potongan HTML ini langsung di halaman domain Anda untuk membantu pengunjung mengerti kosakata inti dalam dunia slot online.
1. Slot
Permainan yang menampilkan gulungan (reel) berisi simbol-simbol. Pemain memutar gulungan dan mendapat kemenangan jika kombinasi simbol yang muncul sesuai aturan pembayaran game tersebut.
2. DEMON138
Istilah yang sering dipakai sebagai nama situs atau merek yang menyediakan permainan slot; angka "777" kerap diasosiasikan dengan keberuntungan dan jackpot pada dunia slot.
3. Slot Gacor
Ungkapan populer untuk menggambarkan mesin atau permainan slot yang sedang "mudah memberikan kemenangan" — sering menampilkan banyak free spin, scatter, atau pembayaran beruntun.
4. Slot Online
Versi digital dari mesin slot tradisional yang dimainkan lewat internet di perangkat seperti ponsel, tablet, atau komputer, dengan variasi tema dan fitur modern.
5. Slot 777
Varian nama yang menonjolkan simbol 777—biasanya identik dengan game yang menawarkan jackpot atau pembayaran tinggi ketika simbol 777 muncul pada garis pembayaran.
6. Slot Gacor 777
Gabungan istilah yang menandakan permainan 777 yang sedang "gacor" atau sering memberikan kemenangan besar—sering digunakan di promosi atau ulasan pemain.
7. Situs Slot Gacor
Platform atau situs penyedia permainan slot yang dikenal bazar pemain sebagai memberi peluang menang lebih tinggi—baik karena variasi game, RTP, atau reputasi pembayaran cepat.
8. Slot Gaming
Istilah umum untuk aktivitas bermain slot, termasuk koleksi game, provider, turnamen, dan pengalaman pengguna saat memainkan mesin slot secara online.
9. Bandar Slot
Operator atau agen yang menjalankan situs slot, mengelola deposit, penarikan, layanan pelanggan, serta bekerja sama dengan provider game untuk menghadirkan koleksi slot pada pemain.
10. Link Slot
Tautan atau URL yang mengarahkan pemain ke situs slot tertentu—sering digunakan untuk mengatasi pemblokiran atau memudahkan akses langsung ke halaman game.
11. Slot Maxwin
Istilah untuk kemenangan maksimal yang dapat diperoleh pada sebuah game slot—biasanya pembayaran tertinggi yang ditentukan oleh tabel pembayaran atau jackpot game tersebut.
12. Slot Jackpot
Jenis slot yang menawarkan hadiah besar (jackpot), bisa statis atau progresif. Jackpot progresif meningkat seiring taruhan pemain hingga mencapai jumlah besar.
13. Scatter Slot
Simbol khusus (scatter) yang tidak harus berada pada garis pembayaran tertentu untuk memicu bonus seperti free spin, putaran gratis, atau mode bonus lainnya.
14. Slot Terbaru
Game slot yang baru dirilis oleh provider. Biasanya menampilkan fitur modern, mekanik baru, dan tema segar yang menarik perhatian pemain.
15. RTP Slot
RTP (Return to Player) adalah persentase teoretis dari total taruhan yang dikembalikan ke pemain dalam jangka panjang. RTP tinggi cenderung memberi peluang pengembalian lebih besar.
